Friday, 5 February 2016

Cwm Idwal and 10 stop ND filter photos


On Wednesday this week (3rd February) I had a free day so contacted a good friend and fellow photographer Nathan Roberts of NR Imagery and arranged to visit Cwm Idwal in the Ogwen Valley, North Wales to take some photos.

As I knew I would be taking landscape shots I didn’t see the need to take some of my lenses such as my Sigma 70-200mm and also my Tamron 90mm Macro instead opting only to take my Sony Zeiss 24-70mm f2.8 (A-Mount) and my Sigma10-20mm f3.5 (APS-C sensor lens) along with my Sony A7R and Sony A77ii bodies. I always like to carry two bodies on photo walks just in case one decides not to work.

I also decided to take along with me a couple of 10 stop ND filters. Neutral Density (ND) filters can be used to create very unique looking photos especially when photographing running water. ND filters allow the photographer to use slower shutter speeds for longer exposures. Some of the shots featured in this blog post have shutter speeds of 60 plus seconds and some even as long as 2 minutes in which time a lot of water has flowed through the scene creating a mysterious foamy look.

To use a 10 stop ND filter, I first set my camera for a normal exposure to capture the running water at for example 1/15 second, f10 and ISO 50. I then use the free app LE Calculator on my iPhone to calculate what the shutter speed should then be set to when the 10 stop ND filter is added. At these settings the app calculated that I needed to change the shutter speed to 68 seconds. To do this on a camera you need to select BULB mode or on a Sony camera while using Manual mode rotate the shutter speed dial until it goes one notch further than a 30 second exposure. I then press and lock my shutter remote until the 68 seconds have elapsed then release it and voila we have a unique long exposure of running water.

When taking photos with long exposures like these it’s imperative that you have your camera on a sturdy tripod and use a shutter release cable so that camera shake is reduced a minimum. It was very windy the day these shots were taken but they still turned out ok.

Click to enlarge the photos below. Please leave a comment and share.


Nathan Roberts trying out one of my ND filters


A 3 shot HDR photo merged in Lightroom CC


An 8 shot panorama stitched in Lightroom CC. The end result is a dramatic 68 megapixel image.

Thursday, 30 July 2015

Bentley Continental GT Speed Photoshoot (Behind the scenes)

Whilst shooting the beautiful Bentley Continental GT Speed I also had a member of my wife's family come along and shoot some behind the scenes images to show the methods behind my shots. All of his photos were taken with the brilliant Leica T camera (that he was just getting to grips with) but edited by myself using Adobe Lightroom. His shots were pretty spectacular.

Check them out:


Tuesday, 28 July 2015

Bentley Continental GT Speed Photoshoot

It's been a while since I last wrote a blog post. I'm a little rusty so here goes...

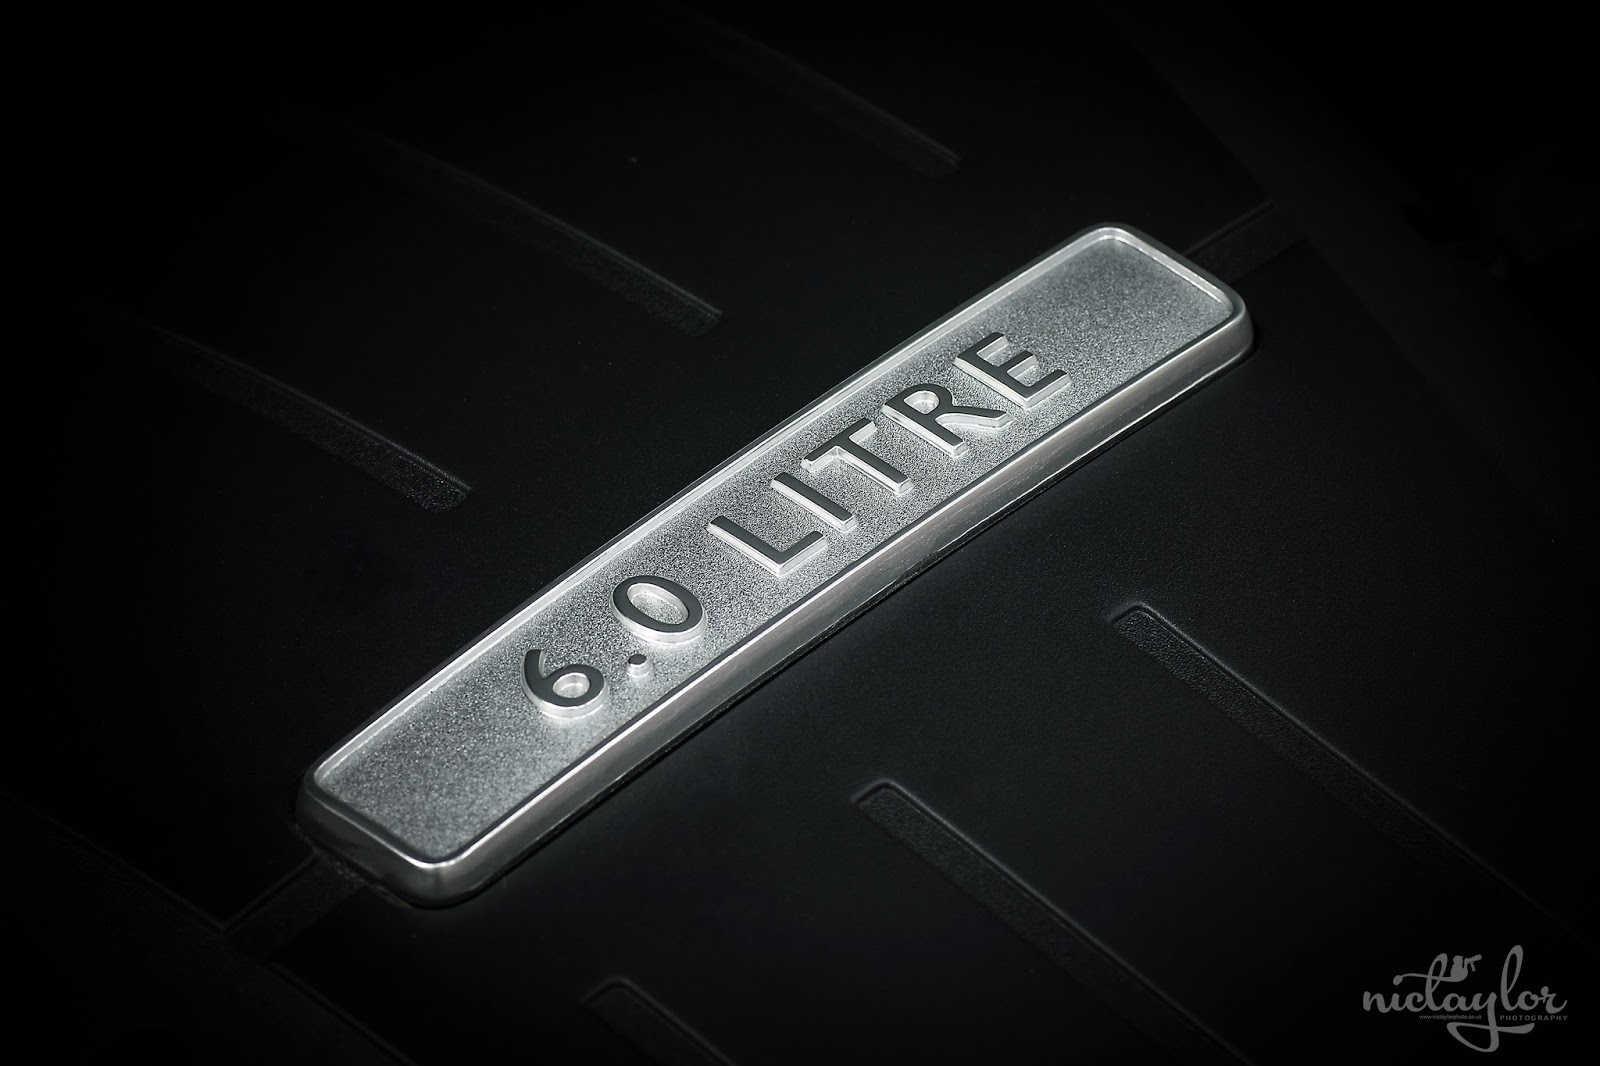
As a follow up to the Porsche 911 50thAnniversary Edition that I photographed back last year I finally got to try out some new techniques while capturing another beautiful vehicle – a BentleyContinental GT 6.0 W12 Speed.

For a while I thought about where I could photograph a car of such luxury that would make interesting images. I came up with the idea of using a dark and dingy parking lot as the perfect backdrop which would create juxtaposition between the grime of the car park and the sublime of the Bentley.

I shot all the car park images mainly using my Sony Zeiss 24-70mm f2.8 and my Sigma10-20mm f3.5 mounted to my Alpha 77 mkII not forgetting to use a circular polarising filter to eliminate reflections on glass surfaces as much as possible.

Next onto the images featuring the metal shutter doors. I was fortunate and very appreciative to be able to use a local factory during the weekend for this and many of the interior details shots. The shot of the vehicle facing away from the camera, with the headlights beaming onto the shutters was captured using a Sigma 70-200mm f2.8 from around 30 feet away to compress the car and backdrop together. To exaggerate the effect of the headlights I triggered two Yongnuo YN560II flashes using a Pixel King triggering system mounted to both my camera and one flash; the other flash was set to Slave mode. This was a shot that I had been most looking forward to trying out.

Take a look at the images from the shoot below or click here for high resolution versions and feel free to leave a comment/critique.


Samyang AF 35-150mm f2-2.8 FE